
This guide explains how to send test emails from pre-designed templates within the Webplanex Wallet application.
Prerequisites:
Configured SMTP Settings: Webplanex Wallet relies on SMTP to send emails. You'll need to configure your SMTP settings beforehand to enable email functionality. Refer to this guide for setup
-
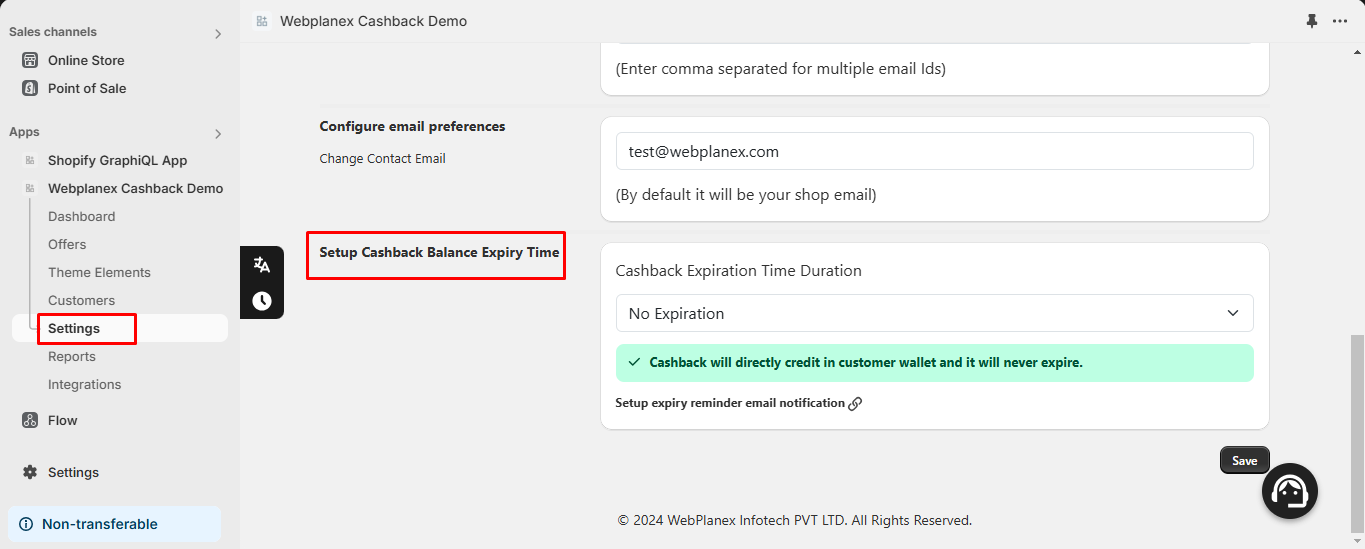
Access Settings: Click on the "Settings" menu from the application.
-
Open Email Settings: Within the settings menu, locate the "Email Settings" section and click on it.

-
Choose Email Template:

- You'll likely see a list of available email templates used for various notifications within Webplanex Wallet.
- Identify the specific email template you want to test by name.
-
Send Test Email:

- Click on the"Action" button associated with the chosen email template.
- Look for a button labeled"Send Test Email".
- Clicking the "Send Test Email" button will likely trigger a pop-up window.
- In this pop-up, enter the email address where you want to receive the test email.
- Once you've entered the recipient's email address, click the"Send" button.