
How to Integrate WhatsApp with Webplanex: GST Invoice India App
Easily connect with your customers through WhatsApp notifications using the Webplanex: GST Invoice India App. Follow the simple steps below to set up and customize your WhatsApp messaging.
🔧 Step 1: Connect WhatsApp
- Open the Webplanex: GST Invoice India App.
- Go to the ‘Setting’ section.
- then Go to WhatsApp Intregation, click the “Connect” button under WhatsApp.
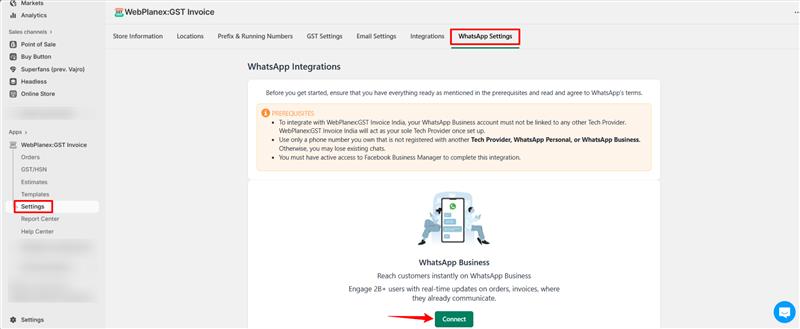
- You’ll be redirected to the Facebook login page.(WhatsApp integration requires a Facebook Business Account.)
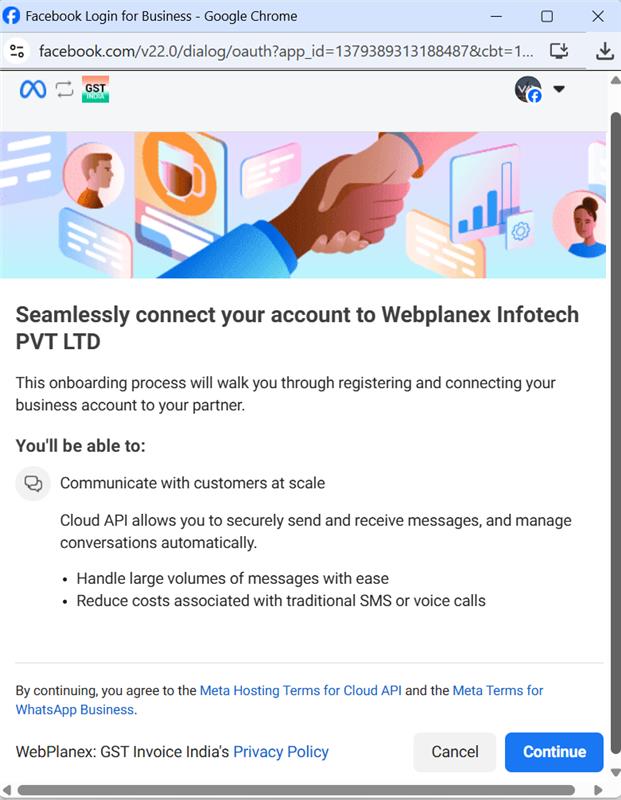
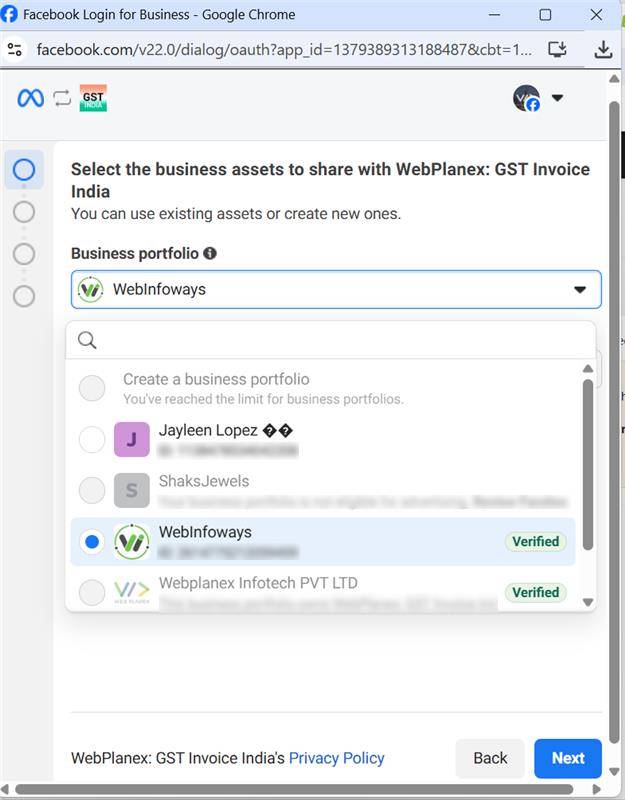
- Log in and choose your Business Type.
- Choose your WhatsApp number:
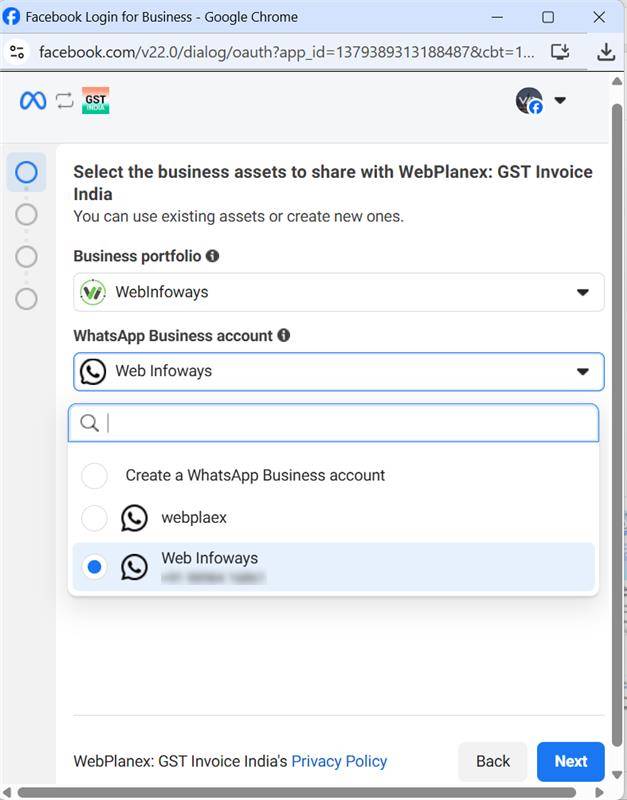
- Virtual Number – for temporary use.
- Dedicated Number – for regular messaging.
.png)
.png)
Then Click on Finish Button

Don't forget to add payment method. It is necessary to start auto messaging. Messages Billing is managed by Whatsapp-Meta.
⚙️ Step 2: Manage WhatsApp Notifications
- Return to the Webplanex: GST Invoice India App.
- Go back to the App setting then ‘WhatsApp Intregation ’ section.
- Click on ‘WhatsApp Notification’.
- Choose when to send messages (e.g., after a reward, purchase, or update).

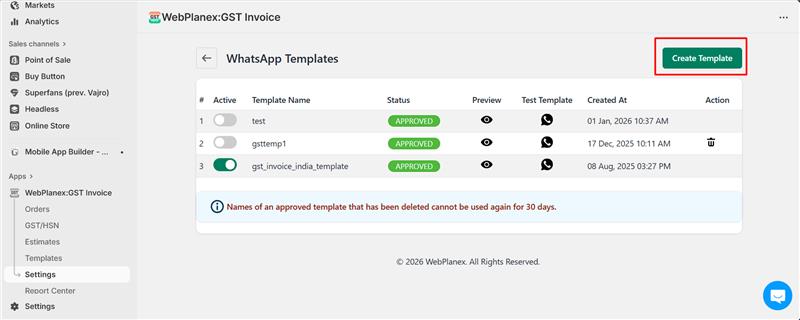
Step 3: Create Message Templates
- You’ll see 1 Default Template already available.
- You can also create another additional custom templates for more personalized messages..

Step 4: View WhatsApp Message History

- You can also track your message performance!
Go to the WhatsApp Message History section. Here, you can see: How many messages were sent .Which messages were not delivered or failed This helps you monitor communication with your customers and make sure everything is working smoothly. That’s it! You’re now ready to send and track WhatsApp notifications using the Webplanex: GST Invoice India App. Need help? Our support team is just a message away.